Microscope-based 3D surface profilers for precision surface metrology—with 4 years warranty
Microscope-based surface profilers are used for high-resolution, non-contact 3D surface metrology when fine details matter. Within this category, the Micro.View family stands out by combining robustness, flexibility and precision—even on challenging materials such as reflective, dark, transparent or mixed surfaces.
The Micro.View family combines optical interferometry with microscope optics to address a wide range of surface metrology tasks:
- High-resolution surface roughness and texture analysis with utmost precision due to TrueStitching and Coherrence Scanning (CSI)
- Repeatable and reliable quality control, with Focus Finder, Focus Tracker and recipe management
- Flexible adaptation to different sample sizes, materials with Correlation Scanning technology (CST), TrueStitching and wide range of lenses
- In the lab or production with Environmental Compensation Technology (ECT)
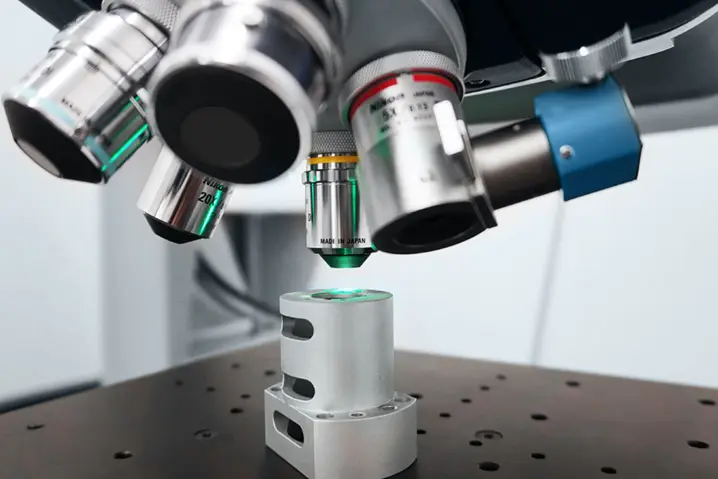
The resulting precision, robustness, and flexibility makes Micro.View a great choice for applications include precision engineering, optics and optical components, semiconductor and microelectronics, MEMS and microsystems, materials research, and tribology—in both laboratory and production-oriented environments.
Some key facts
What is the most fitting Micro.View surface profiler?
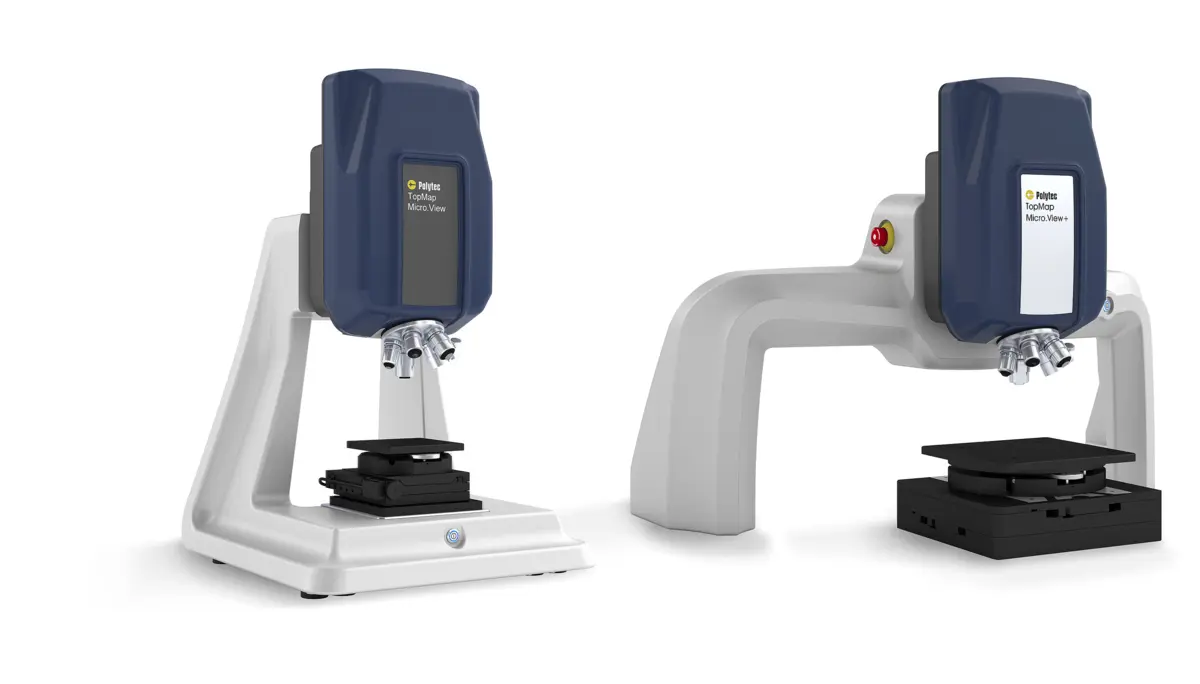
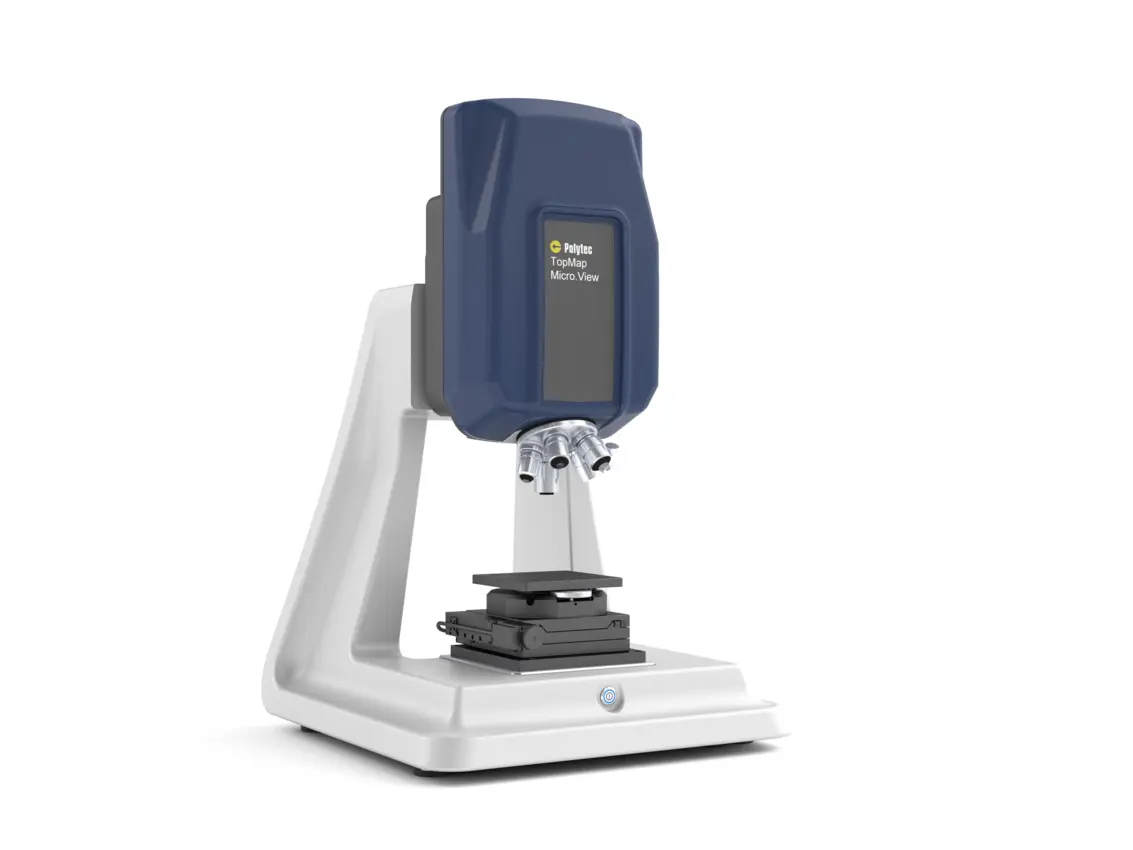
Micro.View
Compact microscope-based 3D surface profiler for highest precision.
- Cost-effective system
- Wide range of lenses for specific tasks
- Small table-top footprint
- Optional ECT for stable results
Best fit for precision manufacturing, R&D labs, development tasks and high-accuracy surface inspection in engineering.
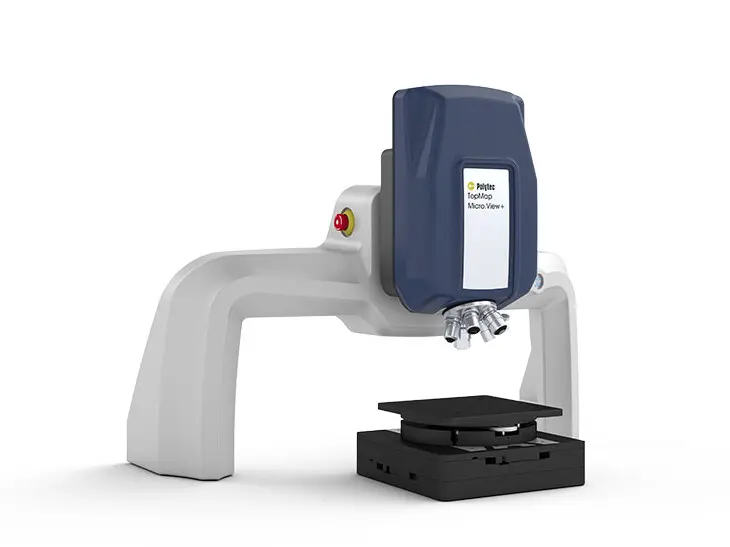
Micro.View+
Adds color imaging to the Micro.View profiler. For more insights and the ability to run automated, operator-independent workflows.
- Fully motorized stages with Focus Tracker
- QC recipe management for unattended operation
- Supports large/tall samples (up to 370 mm)
- Adds color info for enhanced visualization
- In- and at-line measurement ability
Best choice if color imaging is needed and automation capabilities are important.
Surface profiler - comparison in facts
| Feature | Micro.View | Micro.View+ |
|---|---|---|
| Resolution | Sub-nm | Sub-nm |
| True Stitching | Yes | Yes |
| Sample height | Up to 100 mm | Up to 370 mm (with stand) |
| Stages | Manual & motorized stages (20, 75, 100 mm) Manual & motorized tip/ tilt | Motorized 200 x 200 mm Automatic tip/ tilt |
| Visualization | 3D height data (inverse rainbow) | 3D height data (inverse rainbow) Color info mode as hardware option |
| Objectives | 0.6x ..111x incl. long working distance | 0.6x ..111x incl. long working distance |
| Automation | Measurement recipes Positioning Advanced Focus Finder (Manual turret) | Measurement recipe Positioning Advanced Focus Finder Motorized (& manual) turret Closed Loop /w Focus Tracker Head only line integration |
| Learn more | Details about Micro.View | Details about Micro.View+ |
Surface profiling—for precision engineering, optics, microsystems
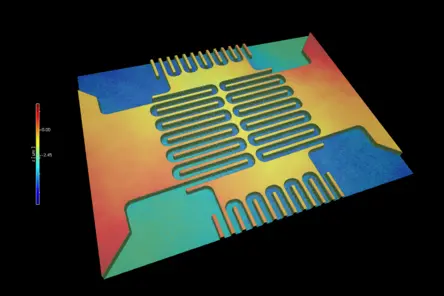
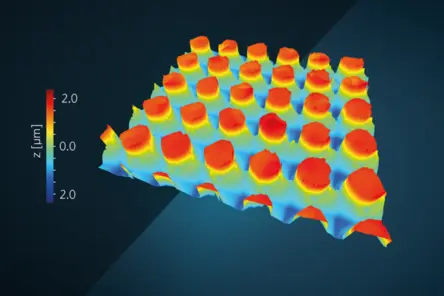
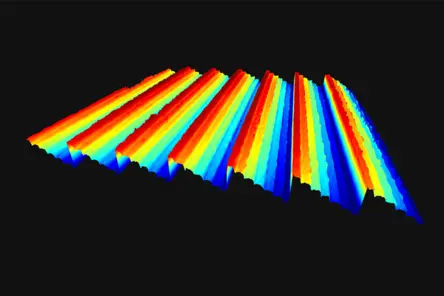
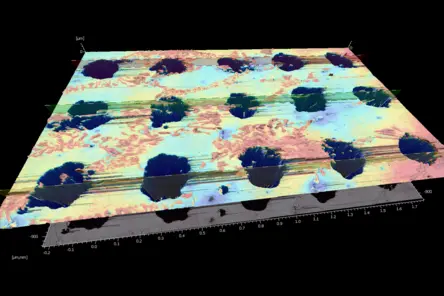
Below are real-life results from standard 3D surface profiling tasks—roughness, flatness, step height, texture and tribology—on typical engineering materials. These examples come from our application centers, which run feasibility studies and contract measurements for customers.
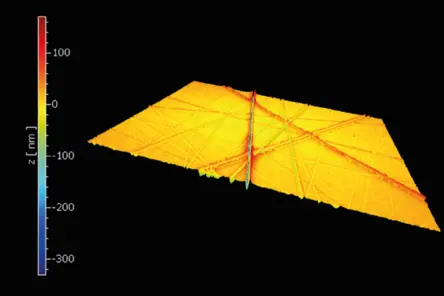
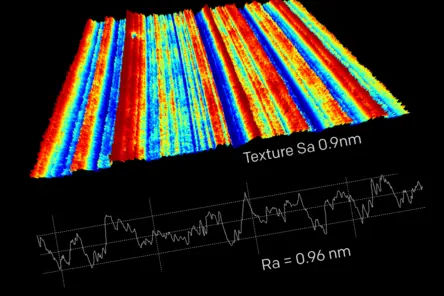
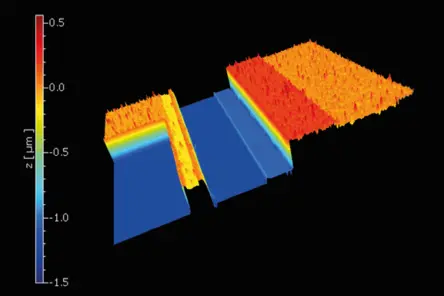
Choose the right surface profiler with confidence—get a demonstration of our capabilities.
Embedded features for high precision and efficient workflows—even in harsh environments
The feature set of our microscope-based 3D optical surface profilers are designed to measure precision components and fine surface details - whether in the lab or production:
- CSI Coherence Scanning Interferometer for utmost precision
- Reliable surface roughness analysis in sub-nm precision on various materials thanks to Smart Scanning Technology
- Widest and most variable FoV for flexible roughness analysis (from 0,07 mm bis zu 15,5 x 11,7 mm)
- True Stitching for unmatched accuracy of wider parts
- Wide Z measurement range of 100mm with full resolution due to Continuous Scanning Technology (CST)
- Recipe-driven measurement with Focus Finder for repetitive operations
- Compliant to newest standards (ISO 21920 and more)
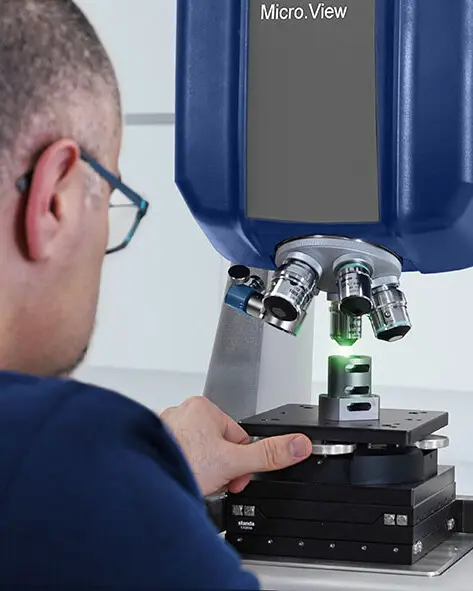
- Operator-independent workflows with motorized X/Y/Z, tip/tilt, encoded turret and Focus Tracker
- Ready for full-automation by tight integration with modular design and interfaces
The resulting precision, robustness, and flexibility makes Micro.View ideal for teams who need traceable, repeatable 3D surface data without complicated setup or environmental constraints.

Feasibility check?
Send us your sample and we run a feasibility study with our profiler and walk with your through the results.
This gives you a precise understanding of the optical profiler’s performance on your actual samples.
Related information
Differences in Micro.View and Pro.Surf+ roughness profiler
While Micro.View also supports form, flatness and step height measurements, its core strength lies in high-resolution 3D surface roughness and texture analysis.
The Pro.Surf+ has the reverse approach. Strength is flatness, parallelism and form inspection but also can run surface roughness analysis with a lateral resolution of 2.6 µm.
Measurement tasks
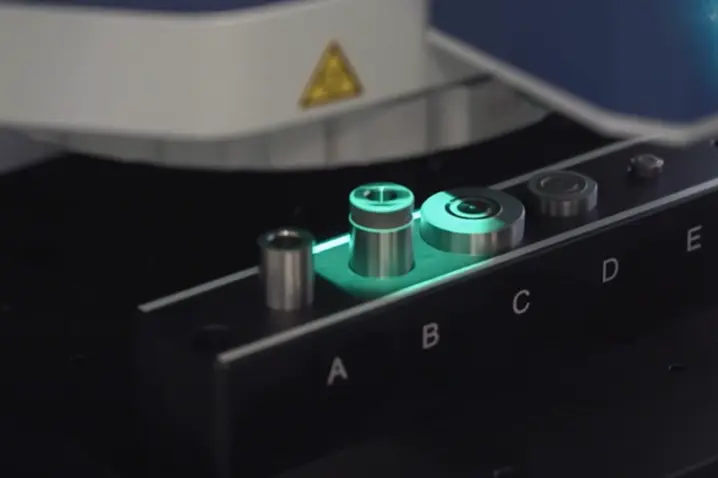
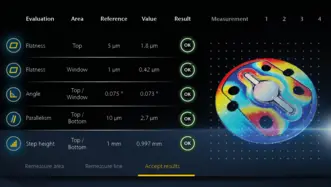
With a WLI optical profiler you can handle all the surface measurement tasks - from surface form parameters, roughness and specific tasks as thickness of layers and coatings.

White light interferometer
Introduction of the white light interferometry technology and the benefits for non-contact areal surface measurement.
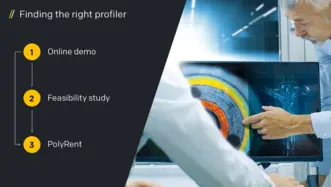
"Try before buy" offer
Measure, rent, decide - on your terms. Make a confident decision about which surface profiler fits into your metrology strategy and safeguard your capital investment.
Discuss your demands with our experts
Let’s start with a short discussion about your parts, tolerances, and workflow — and, if useful, we can add a feasibility study, PolyMeasure (contract measurements), or a PolyRent trial as optional next steps.
